


Webflow's native slider is difficult to connect to the CMS and style without code. Finsweet's "CMS Slider" attribute solves the problem: you first create a standard slider in the Designer, then connect your collection (testimonials, logos, projects) to it using the attribute, all fully compatible with Webflow Localization with no additional setup.
If there is one thing that all Webflow developers agree on, it is that of the native slider element. It is indeed quite complicated to set it up and even more complicated to give it the style you want without adding a bit of code.
And Finsweet understood that very quickly! Thanks to their attribute personalized ”CMS Slider“ and a few very simple manipulations, you have the possibility to broaden the field of possibilities on this element and especially to link to your collection.
Note that all Webflow attributes work in almost the same way and that no modification is necessary to link them to your different languages if you use Webflow Localization.
1. Create my slider directly on Webflow
Before you start looking at the Finsweet documentation, you will always need to create your Slider directly on Webflow. The attribute CMS Slider will then connect to this existing element.
Go to the Webflow list of elements and add a slider:
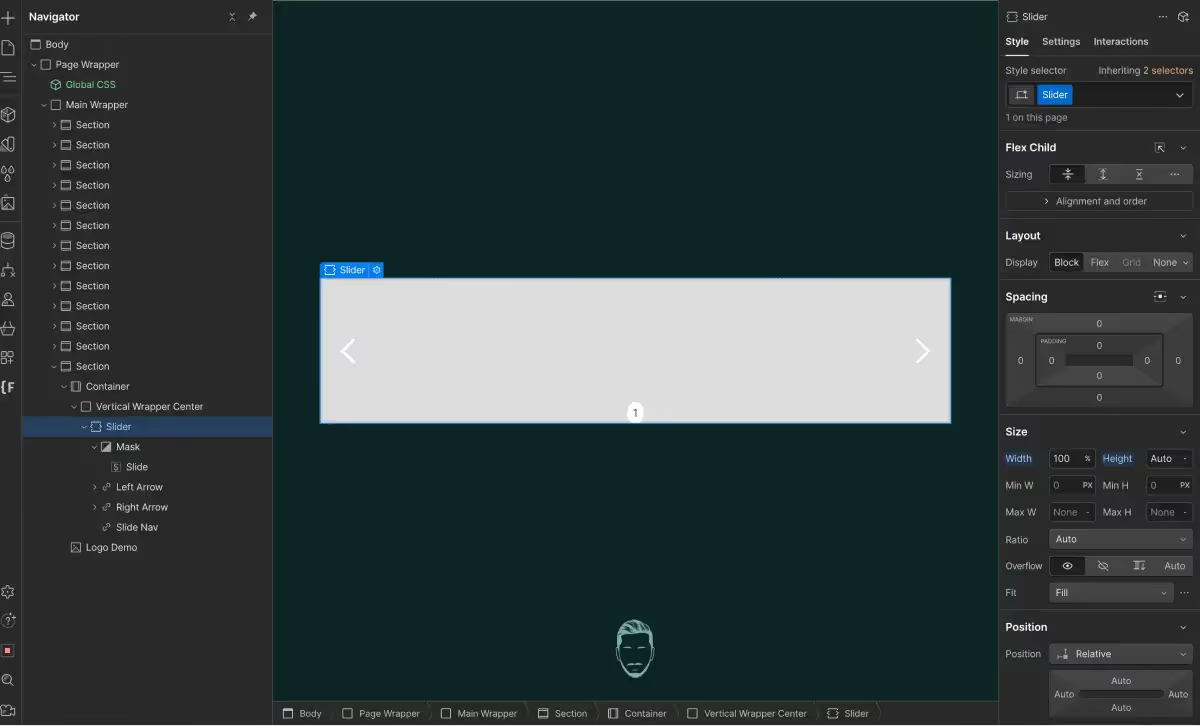
2. Add your collection and create the fields that will be visible in the slides
Your slider has been created, now you have to think about the collection which will be used to supply your slider. Some typical examples of collections:
- Customer reviews
- Partner logos
- Achievements
- ...
Tips: Even if Finsweet will take over the content of your slider do not add elements to your source slide, because it will always be visible to the robots and an H2 like “lorem ipsum” will be taken into account even if you don't see it on your published site...
3. Add the Finsweet attribute
3.1 Copy the script and add it to the <head> of your page
Here is the script to copy:
<!-- [Attributes by Finsweet] CMS Slider -->
<script async src="https://cdn.jsdelivr.net/npm/@finsweet/attributes-cmsslider@1/cmsslider.js"></script>
3.2 Add the collection that you will use to feed your slider
Find the “collection” item and add it to your page. Select the ”Collection list“ of this element and add the following attribute to it:
Name: fs-cmsslider-element
Value: list
3.3 Link your collection to your slider
Select the slider that you added during step 1 (- Create my slider directly on Webflow -) and add the following attribute to it:
Name: fs-cmsslider-element
Value: slider
4. Link fields in this collection
Now that your slider is created and configured according to the documentation and that your collection is created, all you have to do is link the different fields that you want to appear in your slides.
Then you have 2 options:
- Leave this collection visible, more convenient for the customer to find their way around.
- Hide the collection by display:none to clean up your Designer.
Whatever you choose, the end result will be the same.
5. Publish your site!
Webflow cannot yet interpret the scripts that you add directly in the designer, so first of all, you will have to publish your site on staging in order to check that everything is working properly.
CMS Slider is not the only attribute offered by Finsweet in order to help you improve the functionalities of your site. They offer a whole library that you can consult here.


